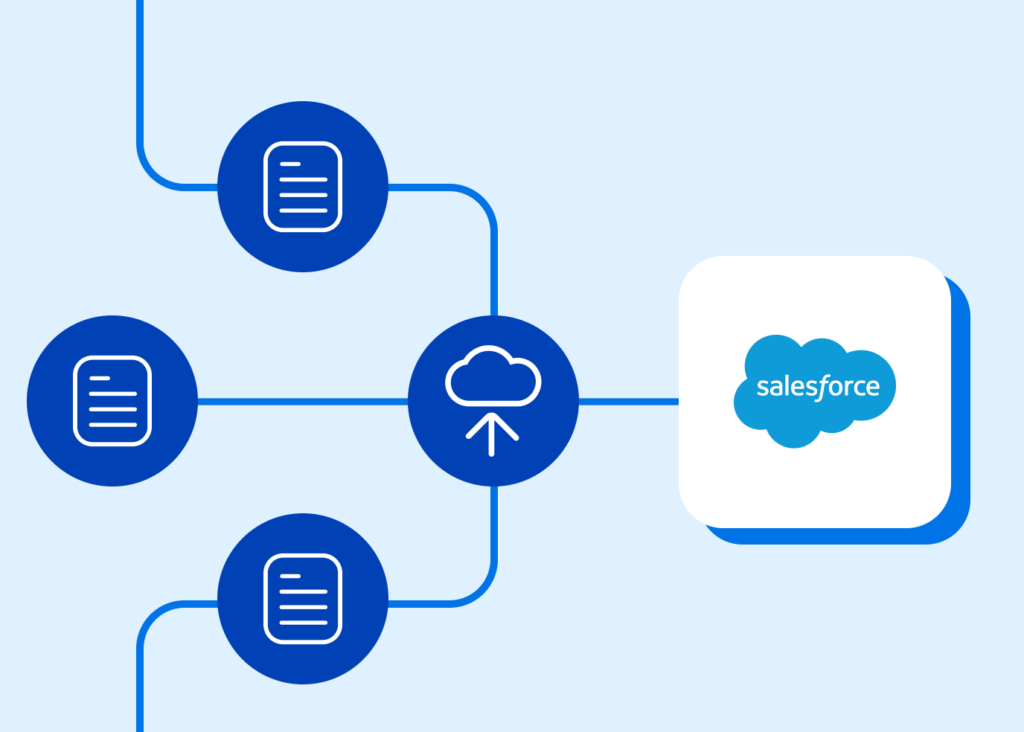
When it comes to optimizing your marketing strategy, integrating powerful tools like FormAssembly and Salesforce Account Engagement (formerly Pardot) is a game-changer. FormAssembly enables seamless data collection through customizable web forms, while Salesforce Account Engagement automates lead nurturing and email marketing efforts. Together, they allow you to effortlessly collect and process prospect data, trigger personalized email campaigns, and improve lead management.
In this blog, we’ll explore how to use FormAssembly with Salesforce Account Engagement, the benefits of this integration, and a step-by-step tutorial to set you up for success.
Why Use FormAssembly + Salesforce Account Engagement Together?
Combining FormAssembly with Salesforce Account Engagement is essential for marketing professionals looking to streamline data collection and increase efficiency. Here’s why this integration is a must-have:
- Customizable Data Collection: FormAssembly enables you to build forms that capture the exact data you need, without coding. You can map any form fields to Salesforce Account Engagement, ensuring the data flows seamlessly into your system.
- Automated Lead Management: Once the data is collected, Salesforce Account Engagement can automatically segment leads, trigger nurturing campaigns, and track engagement. This helps reduce manual processes and improves lead follow-ups.
- Integration with Existing Tools: Beyond Salesforce Account Engagement, FormAssembly integrates with other tools you may already be using, such as Mailchimp and payment processors, making your marketing workflows even more efficient.
- Security and Compliance: Both FormAssembly and Salesforce ensure that your data remains secure and compliant, which is critical for any organization handling sensitive customer information.
Tutorial: How to Use FormAssembly with Salesforce Account Engagement
Here’s how to connect FormAssembly to Salesforce Account Engagement to streamline your email marketing efforts.
Step 1: Build Your Form in FormAssembly
Start by creating a form in FormAssembly that captures the information you need. Whether it’s a simple contact form or a more detailed lead capture form, ensure it has all the necessary fields like name, email, and any custom fields relevant to your campaign.
Step 2: Set Up a Salesforce Account Engagement Form Handler
Next, in Salesforce Account Engagement, navigate to Marketing > Forms > Form Handlers, and click “Add Form Handler.” Here, you’ll create a form handler that links to your FormAssembly form, ensuring the data flows directly into Salesforce.
- Name and Campaign: Give your form handler a descriptive name and assign it to the appropriate campaign.
- Enable Data Forwarding: Check “Enable data forwarding to the success location,” allowing prospects to be tracked seamlessly.
- Endpoint URL: Take note of the generated URL, as you’ll need it in the next step.
Now, you’ll fill in the “Form Fields” section. Add each field included in your form, along with a short external field name (this information will be used as you put together the FormAssembly Webhook Connector). After you’ve finished this step, save the Form Handler, and make a note of the Endpoint URL—you’ll also need this to set up your Webhook connector.
Map Fields: Map the fields from your form to the external field names in your Salesforce Account Engagement form handler. Make sure to map the email field correctly, as it’s crucial for lead tracking.
Step 3: Set Up FormAssembly’s Webhook Connector
In the workflow builder, add the form you want to link with Salesforce Account Engagement to the workflow and then add a connector step.
- Add Webhooks Connector: Go to the Connector step and select the Webhook connector
Step 4: Authorization and Configuration
In the authorization tab, you can select ‘None’ as it’s not needed, with this integration you are simply sending the data to the endpoint URL.
In the ‘Configuration’ tab, select POST as the method, and then paste in the Endpoint URL obtained from Salesforce Marketing Cloud Account Engagement form handler that you set up above. Custom Headers will be left blank in this instance.
For ‘Body” you will select ‘Form Data’ and map the fields from the form to the fields of the form handler.
Step 5: Test and Launch
Before launching, submit test responses to ensure data flows correctly from FormAssembly into Salesforce Account Engagement. You should see new prospects created in Salesforce with activity tracking in the form handler.
Common Use Cases for FormAssembly + Salesforce Account Engagement
FormAssembly and Salesforce Account Engagement can be used together in a variety of ways to optimize your marketing efforts:
- Lead Nurturing: Automatically trigger personalized emails based on form submissions, such as welcome emails or nurturing sequences.
- Event Registration: Use FormAssembly to capture event registrations, then send confirmation and reminder emails via Salesforce Account Engagement.
- Progressive Profiling: Gather additional details about prospects over time through dynamic form fields, enhancing segmentation and personalization.
- Lead Scoring and Segmentation: Use data from form submissions to score leads and funnel them into appropriate marketing campaigns.
Ready to Streamline Your Marketing?
Integrating FormAssembly with Salesforce Account Engagement helps marketing teams save time, streamline processes, and ensure data accuracy. To learn more about how this integration can transform your marketing efforts, sign up for our Marketing Webinar today and see what’s possible!


